First Steps with the Signal Layer
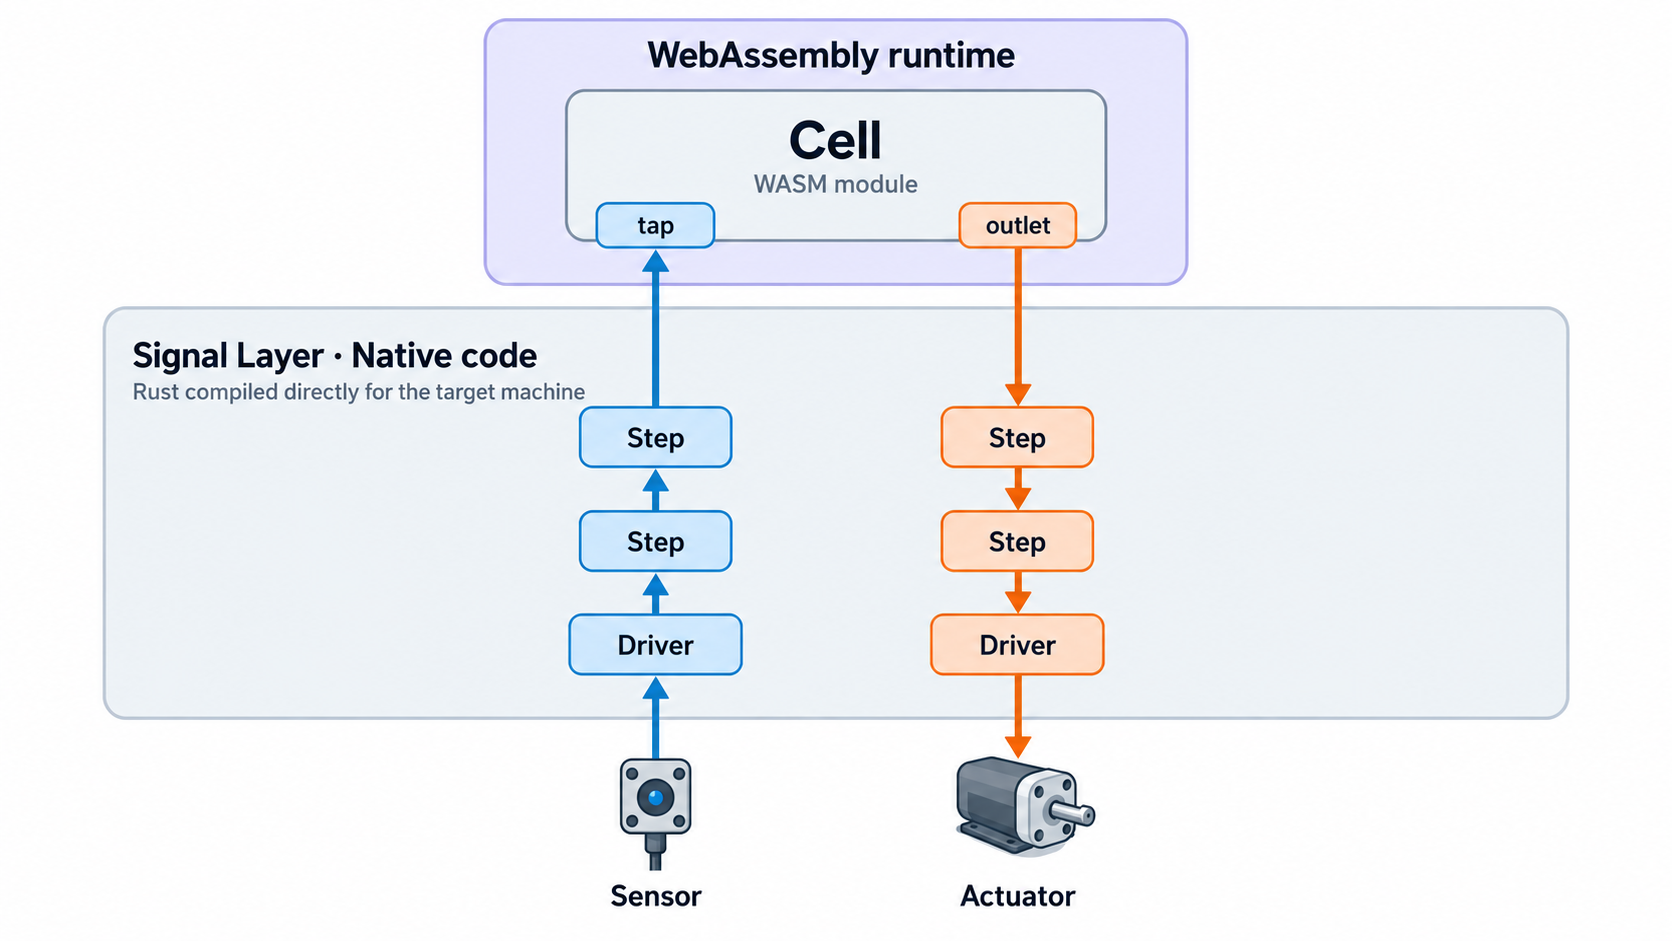
In this tutorial you build the smallest complete Signal Layer system: a pipeline that produces a value, a cell that reads it, and then the payoff — moving that cell from a Linux machine onto an ESP32 with one command, without changing a line of it.
You write two small YAML files and about thirty lines of Rust. myrmic new scaffolds the rest,
and everything else is generated at build time.
What you build
A simulated sensor publishes a climbing value twice a second. A moving-average step smooths it.
Both numbers are offered as taps, named values a cell can read. Your cell reads them every
second and logs them.
The point of the exercise is what does not change along the way. The pipeline file and the cell run on a Linux machine first, and on an ESP32-C6 after. Only the board file, the description of the physical machine, differs between the two.
What you need
To use the Signal Layer you must clone the Myrmic repository.
myrmic new creates the skeleton of every project in this tutorial, and it has to know where your
clone is. Tell it once, with an environment variable:
export PEERIOT_MYRMIC_SDK=~/myrmic # the path to your clone
Set this in the shell you run the tutorial from, before the first myrmic new. It is read only when
a project is created, so setting it afterwards will not fix a project you already created. Delete
that project and create it again.
The other option is to add --sdk ~/myrmic to every myrmic new command. If you set both, the flag
wins.
Part 1 and 2, the Linux half:
- A Linux machine. The simulated sensor is synthetic and never touches the I²C bus, so this
tutorial needs no I²C hardware and no
/dev/i2c-*node. (A Raspberry Pi works too — it is where the real-sensor follow-ups in What's next would run.) - The
myrmicCLI and the Rust toolchain it builds cells with, per Installation. The Install from source path also leaves you the checkout referenced above (called~/myrmichere).
Part 3, the ESP32 half:
- An ESP32-C6 devkit and a machine to flash it from (that machine also needs the repo checkout).
- The embedded toolchain: the RISC-V Rust target (auto-installed on the first firmware build) and
wamrc, the ahead-of-time compiler cells are compiled with for the device. See Installation (Embedded) for that one-time setup - this tutorial needs nothing beyond it. - WiFi credentials for the network the Linux machine is on. The device discovers the runtime by multicast; a fallback for networks that block it is in Part 3.
The parts
- The pipeline: describe the machine and the dataflow, scaffold the pipeline, and watch it run.
- The cell: start a runtime, write a thermometer cell, and read the taps.
- The transfer: put the same pipeline onto an ESP32-C6 and move the same cell onto it.
Along the way, the Signal Layer guide explains every concept this tutorial uses; the reference holds the full file formats.